


THE ULTIMATE GUIDETO STREAK-FREE TANNING
Whether you’re a first-time tanner or a sun(less) worshipper, these simple steps will help you prepare and care for your skin to achieve a beautiful tan that lasts. Follow our simple steps and top tips to achieve a streak-free, bronzed glow whatever the weather.
HOW TO PREP YOUR SKIN BEFORE TANNING
- Step 1 – Exfoliate
Smooth skin is the first step to a perfect tan. Exfoliating your skin will ensure that the tan is less likely to streak and become uneven, whilst prolonging the life of your glow.
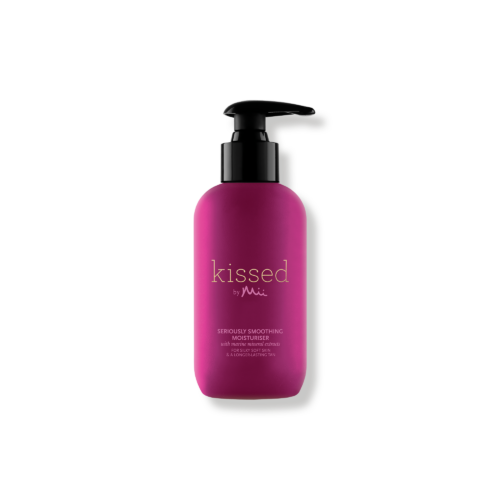
Use the super-fine and gentle Seriously Smoothing Exfoliator the night before you plan to tan. Whilst the skin is damp, delicately buff away dead skin cells, using circular motions to massage your skin. Make sure you pay attention to areas prone to dryness such as elbows, knuckles, hands, feet and knees. - Step 2 – Hair removal
If you wish to remove unwanted hair, do so at least 24 hours before applying fake tan. Hair removal after tanning can strip your gorgeous new glow. Waiting a day or so will also allow the pores to close – this will prevent little dark spots or a ‘strawberry skin’ like appearance when products settle into the pores (the legs are particularly prone to this). If shaving is your chosen method, it is recommended to use a fresh razor to help shave away dead skin cells. - Step 3 – Moisturise
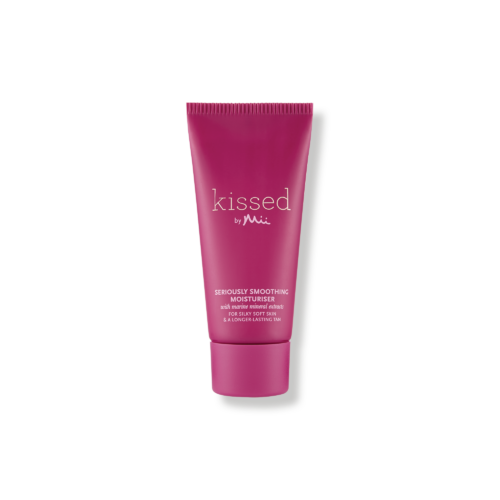
Dry skin will soak up more tanning product compared to other areas and may result in an uneven tan. To prevent this, apply the Seriously Smoothing Moisturiser (it’s super hydrating and contains plant collagen). Focus on the areas prone to dryness – elbows, hands, feet, knees and ankles. This light but nourishing moisturiser helps to prime the skin and create a barrier between your skin and the tanning product for a more even application. If you’ve got very dry skin, or are worried about your tan appearing too dark, make sure to apply a thin layer of the Seriously Smoothing Moisturiser all over your body, but still applying more generously to your dryer areas.
HOW TO APPLY YOUR TAN
- Step 1 – Use a tanning mitt
The Effortlessly Easy Tanning Mitt will not only help with the smooth application of your tan, but it will also protect your hands from staining (a tell-tale sign of a faux glow). The flat and smooth surface of the mitt will help to distribute the product evenly. Plus, it has a large surface area, so is a speedy way to apply tan.
Top tip: Ensure to hand wash your mitt after every application. Dirty tanning mitts loaded with old product could lead to an uneven, patchy or streaky tan. - Step 2 – Apply in circular motions
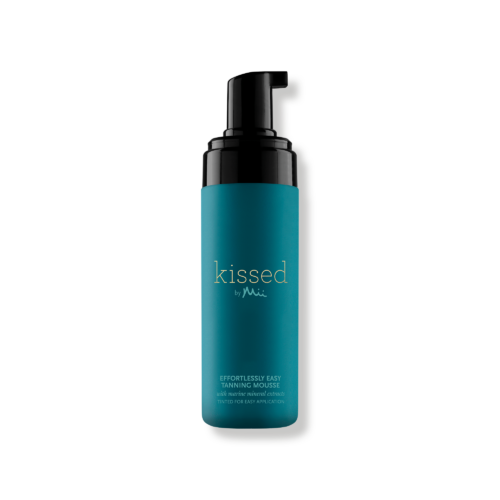
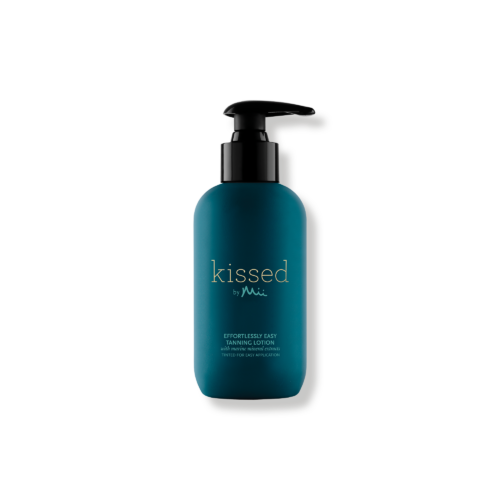
Dispense your favourite Kissed by Mii tanning product onto the Effortlessly Easy Tanning Mitt. If you’re using the Effortlessly Easy Tanning Mousse or Effortlessly Easy Tanning Lotion, you can apply between 1 and 2 pumps on each body part, depending on the intensity you’re after.
Start from the bottom, on your legs, and work your way up. This will reduce the risk of your tan smudging during application before it dries. Apply the tan in circular motions and focus on one body part at a time. Leave your hands, feet and face until last, and use the excess tan on the mitt to achieve a more natural look. If needed, apply a little more to the mitt, but always start off with less. When you get to your hands, make a claw shape by bending and spreading your fingers, blending towards the wrist for a good, even coverage.
Ensure the product has been applied all over your body, double checking areas that tend to be forgotten, such as the insides and backs of your arms and legs.
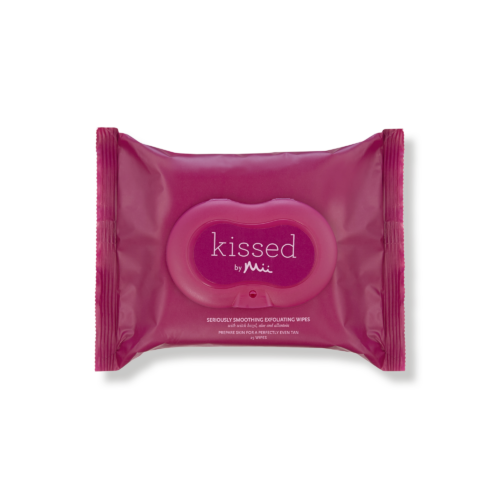
Top tip: After you’ve applied your tan, use the Seriously Smoothing Exfoliating Wipes to remove any excess tan found between your fingers and toes, bottoms of your feet, palms of your hands (right until the start of your wrists), and the cuticle area. Hair also holds onto colour, so wipe your eyebrows and hairline.
ALLOW THE TAN TO DRY
Give your tan a little time to dry before you put your clothes back on, ensuring it is touch-dry. If possible, choose something loose fitting in a dark colour. This will help avoid marks on your new faux glow, and prevent any guide colour transfer being visible on your clothes.
Kissed by Mii products are quick-drying and develop in 6-8 hours, there is also an express tan option which only takes 1-4 hours. Avoid contact with water while your tan is developing. Once the desired colour has developed, take a quick shower using a gentle body wash to rinse off any excess product.
Top tip: Colder showers mean the pores on your skin won’t open as much. So, if you’re after a deep glow, colder showers (especially for the first shower after application), will help your skin retain more of the colour from the product.
HOW TO HELP YOUR TAN LAST LONGER AND FADE EVENLY
The number one rule for prolonging the life of your tan is to keep your skin hydrated and moisturised. Moisturise daily, or twice daily if you can.
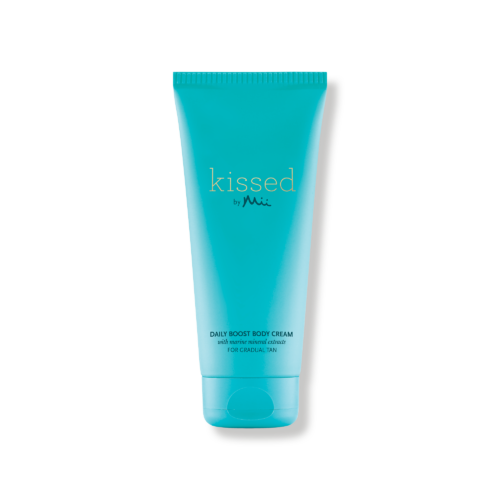
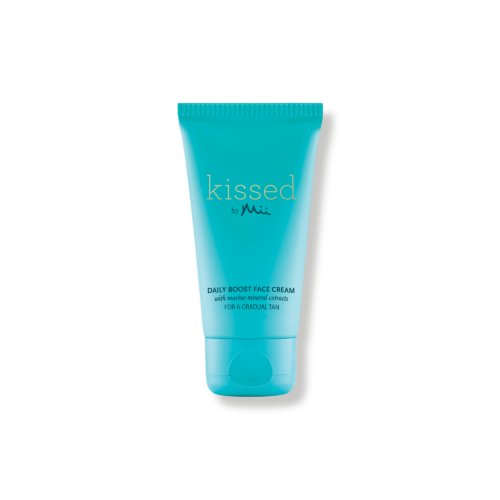
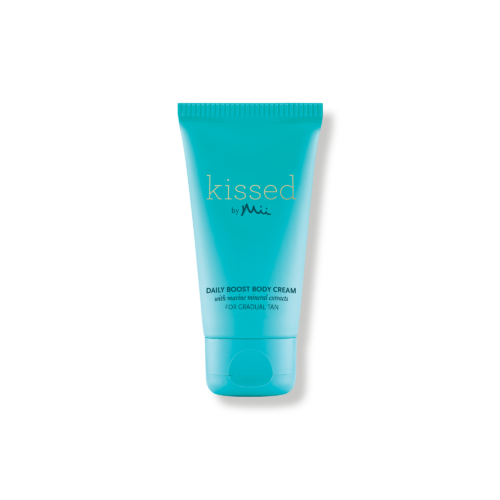
If you’re looking to prolong the original colour of your new tan, you can opt for the Daily Boost Face Cream and Daily Boost Body Cream once a day, which will gradually tint your skin and prolong your glow. You can also use the Daily Boost Cream daily without having applied the Effortlessly Easy Tanning Mousse or Lotion for a more subtle glow.
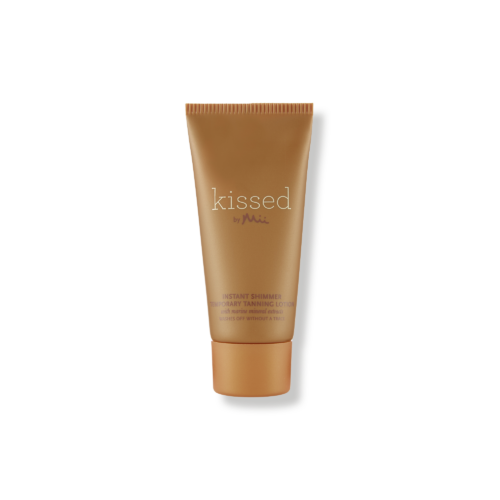
Top tip: The Instant Shimmer Temporary Tanning Lotion is also a good option if you’d like to boost your tan for a day, or if you’re just looking for an easy, instant and radiant wash-off tan. Luxury Bronzing Face Finish or Glamorous Trio are also the ideal options to enhance your tan. Apply where the sun would naturally hit – the cheeks, forehead, nose and chin to build your sun-kissed appearance. Finish with a light dusting of powder down the neck and décolleté.
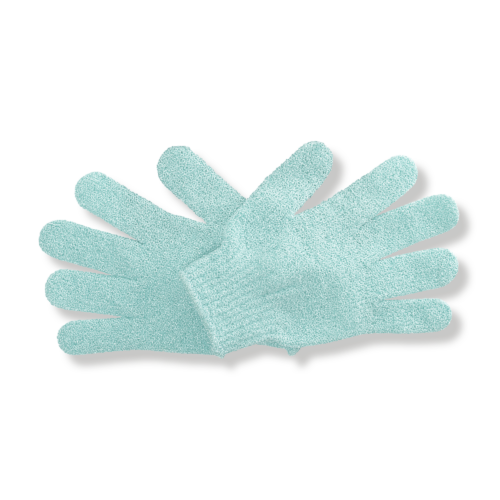
After 4-7 days, or until your tan is beginning to lose life, you can exfoliate again using the Seriously Smoothing Exfoliator and Seriously Smoothing Exfoliating Gloves. After this, you can re-apply again following the same steps, but ensure all your old tan is removed before doing so.