


HOW TO: MOCHAMOUSSE MARBLE NAILS
Wrap your nails in rich, coffee-inspired tones with this mocha swirl nail art from @simlynail. Think velvety browns and creamy beiges melting together like a perfectly frothed latte—warm, stylish and effortlessly chic. This cozy nail trend is perfect for latte lovers and nail art enthusiasts alike.
WHAT YOU’LL NEED

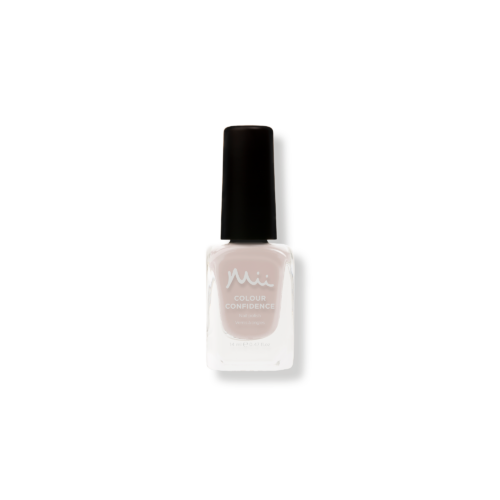
Skinny Dipping – A light beige nude crème
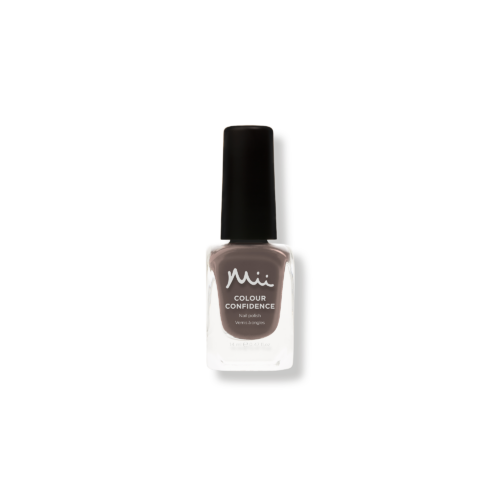
Worldly Wise – A rich coffee brown crème
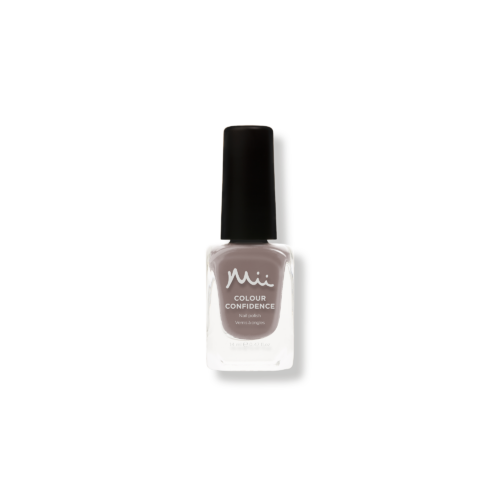
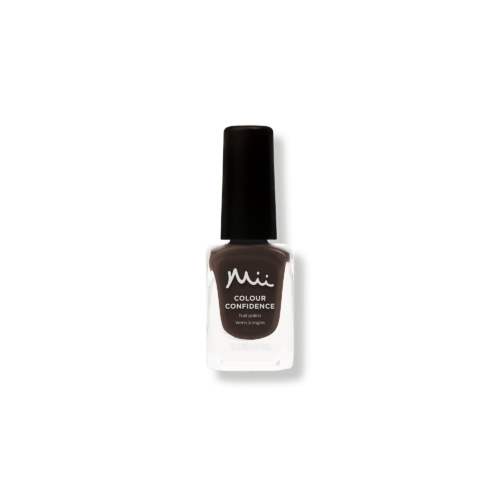
Steady Choice – A mid-brown mink crème
Wood Smoke – A deep grey brown crème
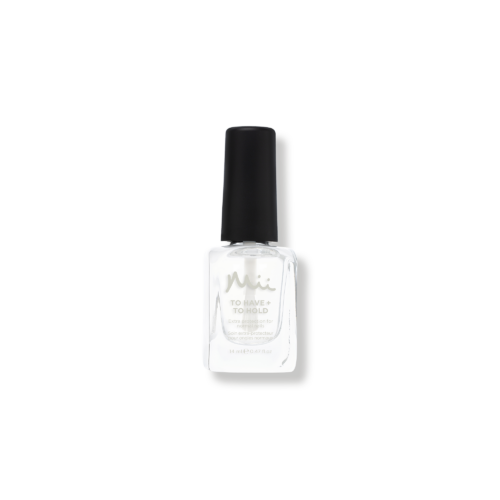
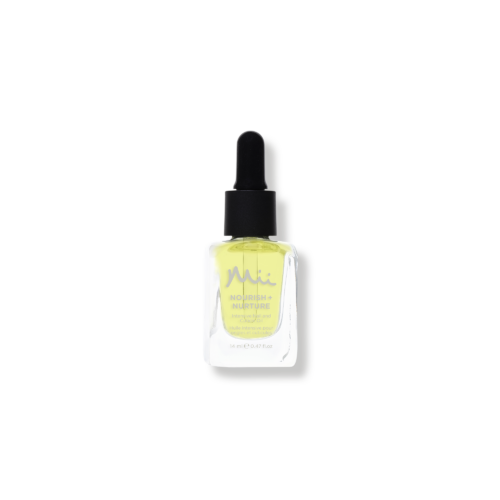
STEP 1: BASE
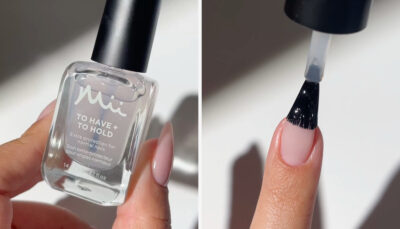
Start with our vitamin-rich To Have + To Hold Base Coat, designed to strengthen nails, smooth ridges and extend the wear of your manicure. Apply a thin, even layer to clean, dry nails making sure that you cover the free edge by sealing it from left to right.
STEP 2: MARBLE BLEND

Wrap cling film around a flat surface and add drops of Skinny Dipping, Worldly Wise, Steady Choice and Wood Smoke.
Using the Neat + Tidy Dotting Tool, swirl the the shades together to create a mesmerising coffee swirl nail effect—just like milk blending into espresso.
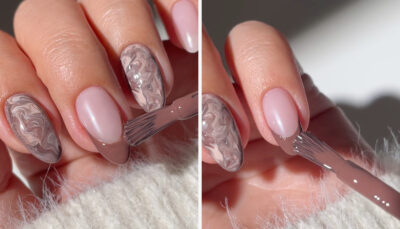
STEP 3: MOCHA SWIRL
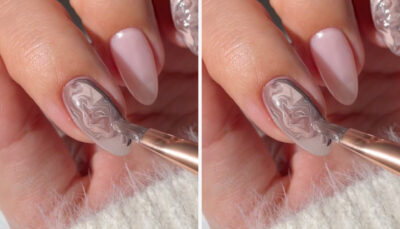
With a medium flat nail art brush, paint the blended shade onto your index and ring fingers in a swirling motion. The result? A dreamy mocha marble nail look that’s effortlessly elegant.
STEP 4: MOCHA FRENCH
Give your manicure a chic touch by painting a mocha French tip on your thumb, pinky and middle fingers using Worldly Wise. This modern French manicure adds a sophisticated contrast, making it perfect for minimalist nail lovers.
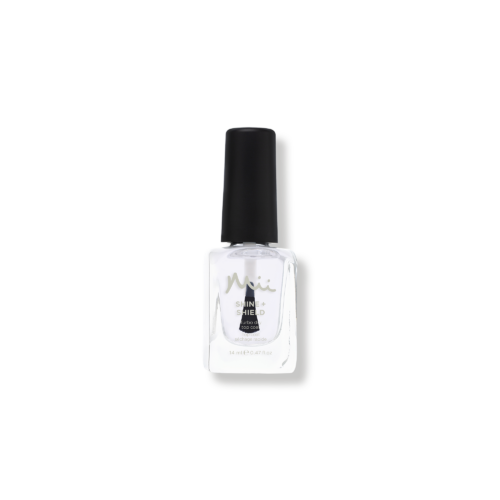
STEP 5: SEAL
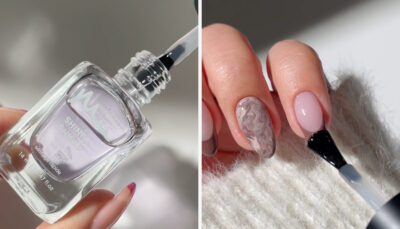
Use the Shine + Shield Top Coat to seal your manicure with a lustrous, mirror-like shine that enhances the colour depth while protecting your polish for prolonged wear.