


HOW TO: FESTIVEBOW NAILS
Tie your festive look together with this chic bow nail art by @nailsbyroveena using our Gilded Glam nail polish collection.
WHAT YOU’LL NEED
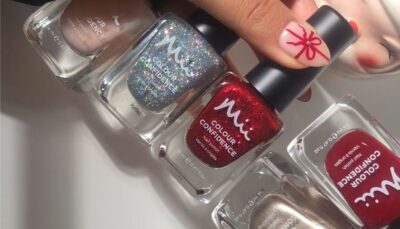
Regal Ruby – A glittery cherry red
Candelabra – A golden metallic bronze
Majesty – A holographic silver glitter
Deep Slumber – A maroon red crème
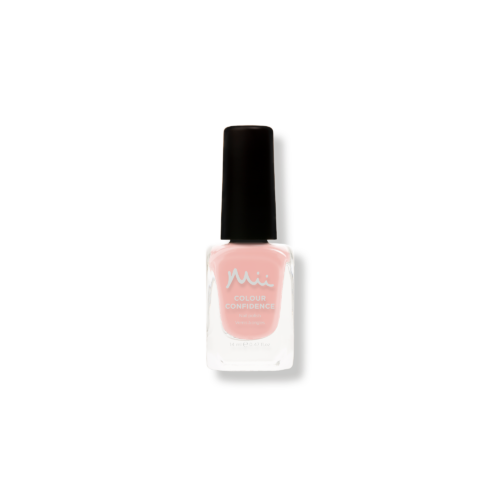
Naturally Modest – A sheer peach crème
STEP 1: BASE
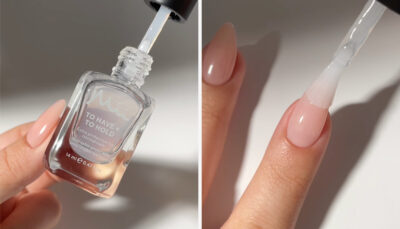
Using your prescriptive base coat for your nail type, apply one coat to clean, dry nails using just 4 to 5 strokes. Make sure that you cover the free edge by sealing it from left to right. A base coat will help to smooth the surface for a longer-lasting manicure, whilst promoting healthier-looking nails.
STEP 2: BASE COLOUR
Paint 2 coats of Naturally Modest onto your thumb and ring finger for a neutral base.
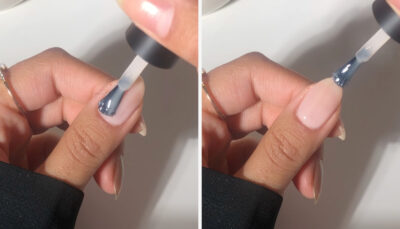
STEP 3: WRAP IT UP
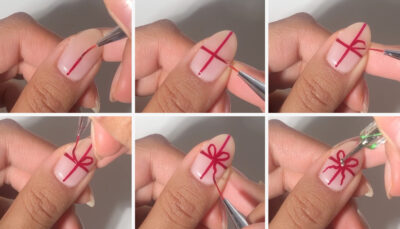
Using a thin nail brush, carefully draw a cross using Deep Slumber on your thumb and ring finger.
Next, draw two ovals in the upper sections of the cross and add two swirling lines starting from the centre in the lower sections.
To complete the bow, using the Neat + Tidy Dotting Tool add a single shimmering dot of Candelabra in the centre.
STEP 4: ADD SPARKLE
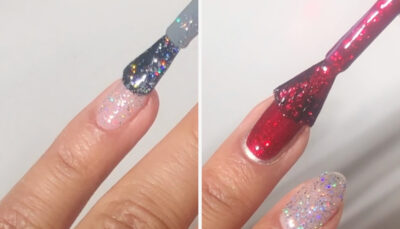
Paint 2 coats of Majesty on your index and pinky, followed by 2 coats of Regal Ruby on your middle finger.
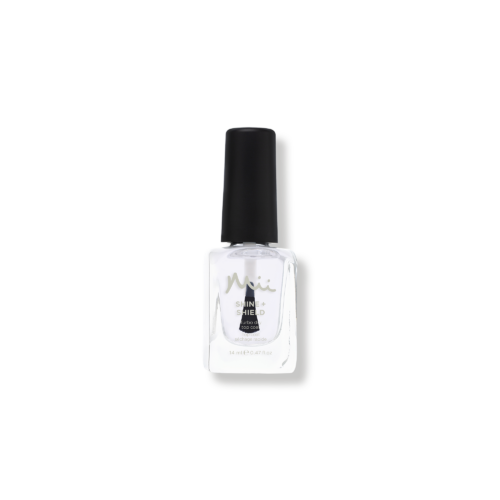
STEP 5: SEAL
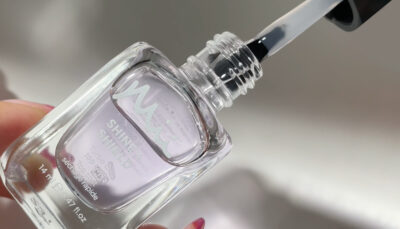
Finish your festive manicure with the Shine + Shield Top Coat for a glossy, mirror-like shine that amplifies the colour’s sparkle and protects the polish for extended wear.